RubyプロダクトをElixirプロダクトへリプレイスする作業を自動化しよう① fukuoka.ex Elixir/Phoenix Advent Calendar 2020【5分で読める】
この投稿は『fukuoka.ex Elixir/Phoenix Advent Calendar 2020』の19日目の記事です。
qiita.com
また、この投稿は、先日のElixir Digitalization Implementors #3 でLT発表させてもらった内容と一部重複しています。
fukuokaex.connpass.com

解説
前述のrtoeは既存のRubyプロダクトのmigrationファイルを読み込み、
ElixirプロダクトでSchemaを生成するコマンドを生成するものです。
一部抜粋して解説します。
基本的にこんなことをやっています。
- Rubyプロダクトのmigrationファイルを読み込む
- 読み込むんだ下記の文字列を加工
- テーブル名
- カラム名
- カラムの型
これがメインとなるメソッドです。
defmodule Mix.Tasks.Schema do
  @moduledoc "Printed when the user requests `mix schema migration_file_path`"
  @shortdoc "Migration file argument"

  use Mix.Task

  @impl Mix.Task
  def run(file) do
    {:ok, contents} = File.read(file)

    lines = String.split(contents, "\n")

    table =
      lines
      |> get_table_name

    class =
      lines
      |> get_class_name

    columns =
      lines
      |> get_columns

    elements = [
      "mix phx.gen.schema Context.#{class}",
      "context_#{table}",
      columns
    ]

    Mix.shell().info(Enum.join(elements, " "))
  end

  defp get_table_name(lines) do
    line =
      lines
      |> line_containing_word("create_table")

    case Regex.named_captures(~r/^create_table :(?<tn>.*) do |t|$/, "#{line}") do
      nil ->
        ""

      %{"tn" => table_name} ->
        table_name
    end
  end

  defp get_class_name(lines) do
    line =
      lines
      |> line_containing_word("class Create")

    case Regex.named_captures(~r/^class Create(?<cn>.*)s < ActiveRecord::Migration$/, "#{line}") do
      nil ->
        ""

      %{"cn" => class_name} ->
        class_name
    end
  end

  defp get_columns(lines) do
    lines
    |> Enum.filter(&is_column(String.trim("#{&1}")))
    |> Enum.map(fn str -> String.trim(str) end)
    |> Enum.map(fn str -> get_column_type(str) end)
  end

  defp get_column_type(str) do
    lc = String.split(str, ", ")
    [head | _] = lc

    case Regex.named_captures(~r/^t.(?<type>.*) :(?<col>.*)$/, "#{head}") do
      nil ->
        ""

      %{"type" => type, "col" => col} ->
        "#{col}:#{type} "
    end
  end

  defp is_column(line) do
    case Regex.named_captures(~r/^t.*$/, "#{line}") do
      nil ->
        false

      %{} ->
        true
    end
  end

  def line_containing_word(lines, word) do
    lines
    |> Enum.find(&String.contains?("#{&1}", word))
    |> String.trim()
  end
end
最後に適切なmix phx.gen.schemaコマンドを生成してくれます。
実際に
プロジェクトでも使っていて、
手作業でElixirのSchemaを実装する場合に比べてカラム名や型のミスもなくなりました。
今後
rtoeに関して、Elixir Digitalization Implementors #3 で頂いた下記のフィードバックも今後やりたいです。
- CLI化 →releaseしました。(2020/12/28更新)
また、Elixirへのリプレイスに関してどんなプロジェクトでも行う共通の工程があると思うのですが、できればそこを自動化していきたいです。
ちょっと短めですが、失礼いたします。
ここ最近やっていたインフラ
大企業のセキュリティしっかり目の独立した検証環境を誰でもすぐ構築できるようにTerraformで開発
* Amazon SSMを使ってインスタンスへの接続
* 設計と実装
* Terraformのバージョンアップ 0.12系->0.13系
* AWS SSM, VPC ~ RDS
Amazon Linux2でGitlab Runnerの構築・設定
(途中で引き継ぎました。)
1000人のエンジニアが使うリードレプリカ構成のサービス構築
* 負荷分散、kubernetesのyamlをいじって調整
* Helm Chart化。
* 構築を自動化したシェルスクリプト(bash)の開発
* AWS EKS, Route53, EC2, ELB, EFS, ExternalDNS
ベンチャーの新規プロダクト・PoCのリリース・構築
(お手伝いレベルになります。)
* ヒアリング手伝い
* 大企業のAWS上に構築お手伝い
* Amazon Linux2
* プロダクトはGo, GraphQL, gqlgen, TypeScriptでした。
pythonで書かれたバックアップmoduleをアップデート・メンテナンス
* Slack通知
* fabric
* AWS Lambda, Cloud Watch, EBS, EC2, S3
* 監視など
大企業のサーバーが攻撃された時の対応
* log調査
* セキュリティ見直し
メディア関連
* サーバーをXserverからXserverに移設
* 高速化
docker-compose buildでキャッシュを使わない。
docker-compose build --no-cache
kubernetesのyamlに記載すべきapiVersion
kubectl explain 'Object'
例えば
kubectl explain deployment
が便利
記載すべきはapps/v1 だと分かる。
$ kubectl explain deployment
KIND:     Deployment
VERSION:  apps/v1

DESCRIPTION:
     Deployment enables declarative updates for Pods and ReplicaSets.

FIELDS:
   apiVersion	<string>
     APIVersion defines the versioned schema of this representation of an
     object. Servers should convert recognized schemas to the latest internal
     value, and may reject unrecognized values. More info:
     https://git.k8s.io/community/contributors/devel/sig-architecture/api-conventions.md#resources

   kind	<string>
     Kind is a string value representing the REST resource this object
     represents. Servers may infer this from the endpoint the client submits
     requests to. Cannot be updated. In CamelCase. More info:
     https://git.k8s.io/community/contributors/devel/sig-architecture/api-conventions.md#types-kinds

   metadata	<Object>
     Standard object metadata.

   spec	<Object>
     Specification of the desired behavior of the Deployment.

   status	<Object>
     Most recently observed status of the Deployment.
EKSでconfigにクラスタを追加しクラスタを切り替えれるように。
いつも忘れるのでメモ。
kubectlのconfigにクラスタを追加
aws eks update-kubeconfig --name <クラスタ名>
kubectl でのコンテキスト一覧および切り替え
一覧
$ kubectl config get-contexts
切り替え
$ kubectl config use-context $CLUSTER_NAME
Currentの表示
$ kubectl config current-context
Amazon EKS 用にkubeconfigを作成する。
いつも忘れるのでメモ。
下記コマンドを実行
aws eks --region <region> update-kubeconfig --name <cluster_name>
【Kubernetes】ローカルにクラスタを作成してNginxをLoadBalancerタイプでデプロイ
こんにちは。
この記事は Kubernetes Advent Calendar 2019 の2日目の記事になります。
qiita.com
前提
- kubectlコマンドが使える。
- Minikubeが利用できる環境にある。
クラスタの用意
ローカルにクラスタを用意。
$ minikube start
確認。
$ minikube status
host: Running
kubelet: Running
apiserver: Running
kubeconfig: Configured
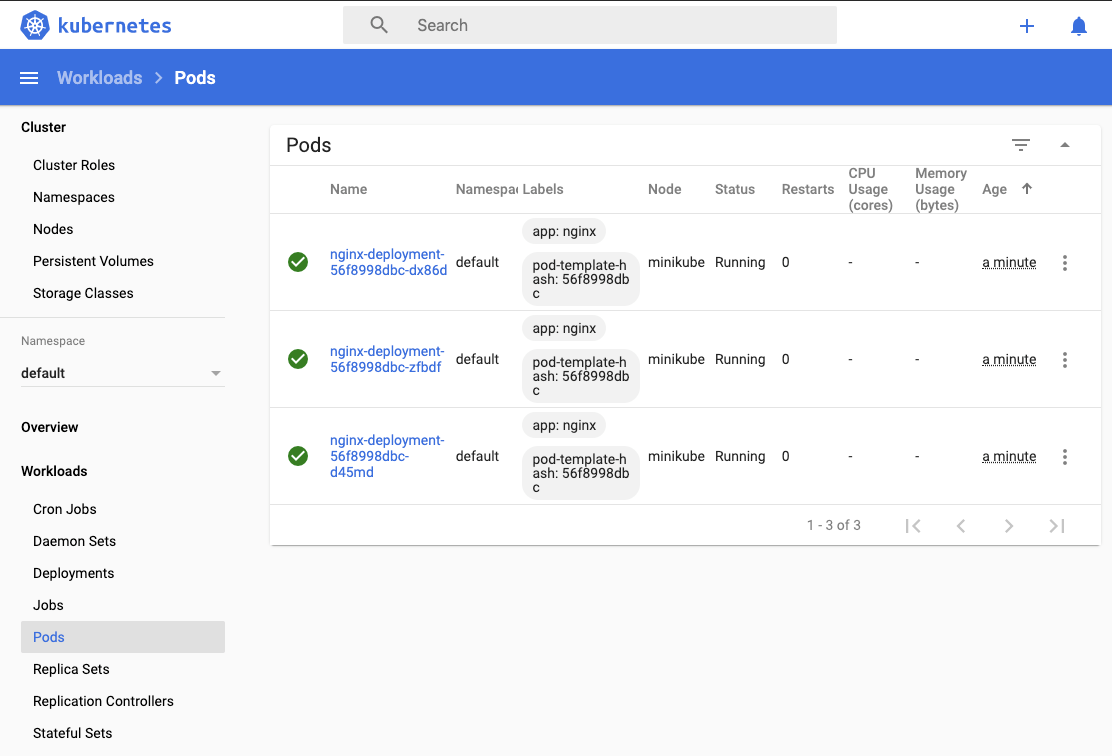
Dashboardを確認する。
$ minikube dashboard
Deploymentの作成
deployment.yaml の作成
apiVersion: apps/v1
kind: Deployment
metadata:
  name: deployment
spec:
  selector:
    matchLabels:
      app: nginx
  replicas: 3
  template:
    metadata:
      labels:
        app: nginx
    spec:
      containers:
      - name: nginx
        image: nginx:1.9.1
        ports:
        - containerPort: 80
apply する
$ kubectl apply -f ./deployment.yaml
Serviceの作成
service.yaml の作成
apiVersion: v1
kind: Service
metadata:
  name: nginx
spec:
  type: LoadBalancer
  selector:
    app: nginx
  ports:
    - name: http
      port: 8080
      targetPort: 80
apply する
$ kubectl apply -f ./service.yaml
確認
サービスとURLの確認
$ kubectl get services
NAME         TYPE           CLUSTER-IP      EXTERNAL-IP   PORT(S)          AGE
kubernetes   ClusterIP      10.96.0.1       <none>        443/TCP          87m
nginx        LoadBalancer   10.101.66.247   <pending>     8080:31695/TCP   110s

$ minikube service nginx --url
http://192.168.64.6:31695
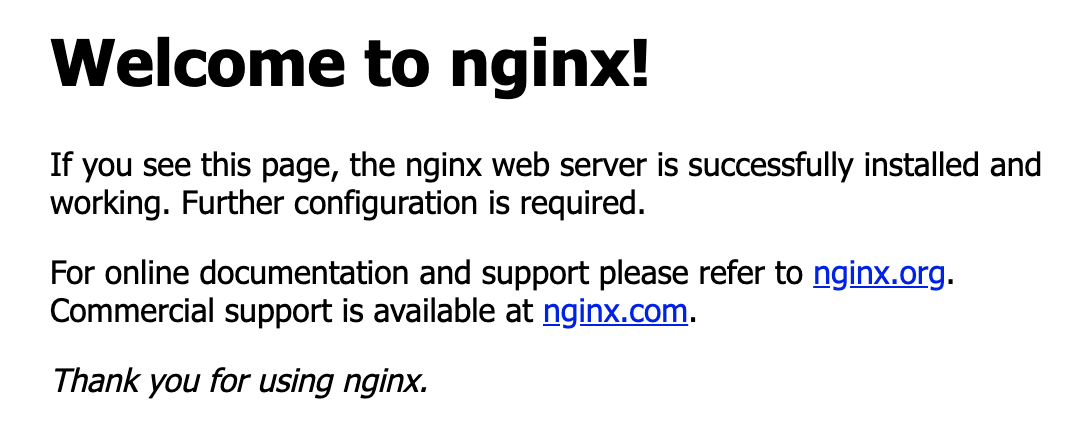
minikube service nginx --url
で表示されたURLにブラウザでアクセスする。
この場合だと、http://192.168.64.6:31695にアクセスするとNginxの表示が確認できる。